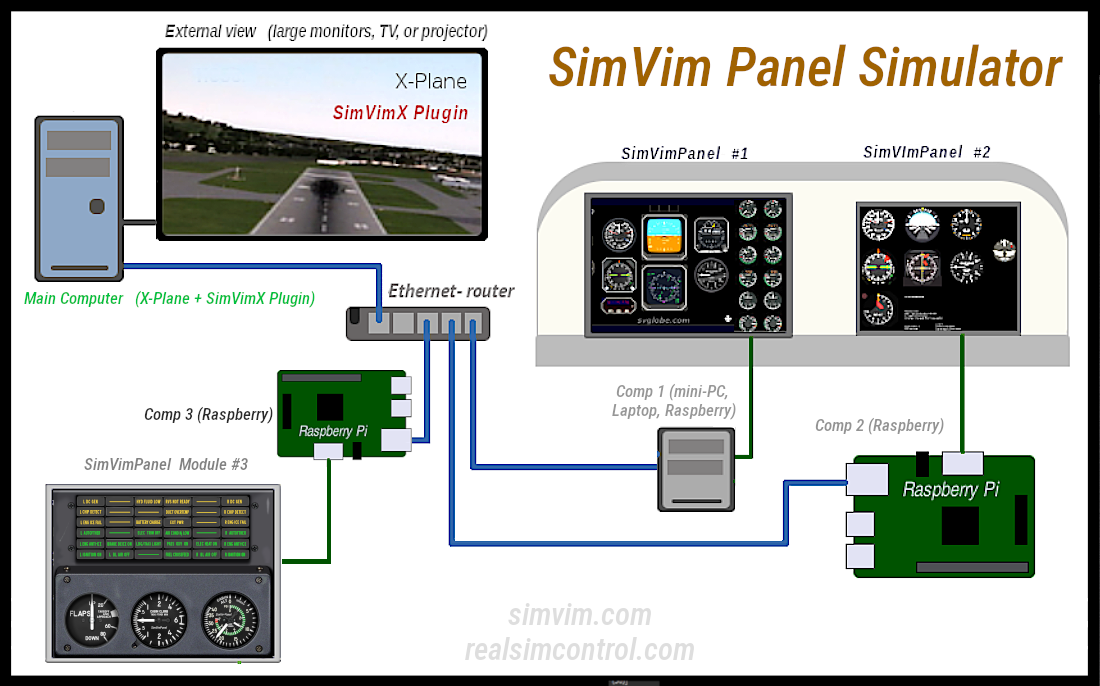
SimVimPanel is a standalone program running a set of realistic, fully-functional aircraft instrument panels on a computer that is connected by network to the main computer with X-Plane.
The program doesn't require any data configuration on the user's part. When you run the program on another computer in the local network, it automatically connects to the main X-Plane computer with SimVimX plugin istalled. The system is built in such a way that any number of computers with different instrument panels can be connected to the main computer running X-Plane.


The project is ongoing and over time we will produce panels for more aircraft types.
SimVimPanel doesn't require any installation procedure - just unpack it anywhere you want and launch it. The instrument panel module that you want to use need to be placed to the Modules folder before. If you're using Linux or Raspberry Pi and the program doesn't launch, check the file permissions to make sure it is marked as executable. The computers running SimVimPanel need to be connected to the same local network as the computer running X-Plane with SimVimX plugin.
To try out the SimVimPanel program, all you need is a second computer (or a laptop, mini-PC, or Raspberry Pi) to run the instrument panels program. Download SimVimPanel on the second computer, and start. If the computers are on the same network, they will automatically connect and you will see the instrument panel working.
Before using the SimVimPanel program, you need to make sure that your screen resolution is set to the monitor's native resolution. For example, if the monitor you'll be using has a resolution of 1600x900 pixels, make sure your operating system has set that resolution correctly. You can read about more precise scaling customization and scaling for non-standard screen resolutions on Raspberry Pi here.
The program detects your screen dimensions/resolution and scale the panels to be displayed in their real size on any monitor by default (i.e. 3.125" or 80mm for major gauges). However, if the program doesn't detect your screen size correctly for some reason and you see incorrect istruments dimentions, you can scale up/down the whole instrument panel using the related keys (described in the "Instrument-only Panel" section below).
In case one of the panel modules you use stops working after a program update, make sure this panel module is up-to-date.
| Platform 64 | Platform 32 | Version | Last Updated |
|---|---|---|---|
| Raspberry Pi 64-bit | Raspberry Pi 32-bit | v5.1 | 25 Oct. 2024 Changelog |
| Linux 64-bit | Linux 32-bit | ||
| Windows 64-bit | Windows 32-bit |
The instrument-only version is for those who build a "hardware" panel with cover plates made of plastic, metal, plywood or cardboard covering the monitor screens, containing only cut-outs for instruments and indicators.
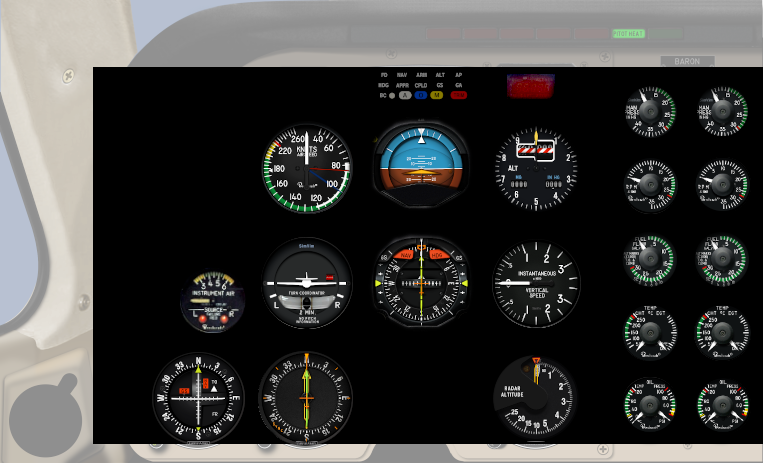
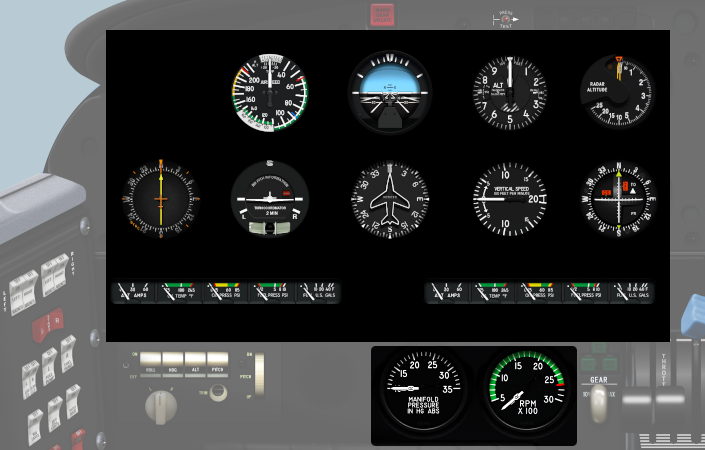
Every specific aircraft panel is provided with its typical instrument layout, with exact positioning and spacing. For the instruments-only panel we will provide a cut-out template with dimensions (also, you can launch the instrument panel, correct its positioning and scale and make your template directly from the screen).
All instruments are automatically displayed in their real size (for example 3,125" gauges) on any screen. The program usually detects the screen size correctly. If not - you will need to adjust the panel scaling to get correct instruments dimentions (or scaled-down size if you build your panel in redused size) in the "setup" mode.
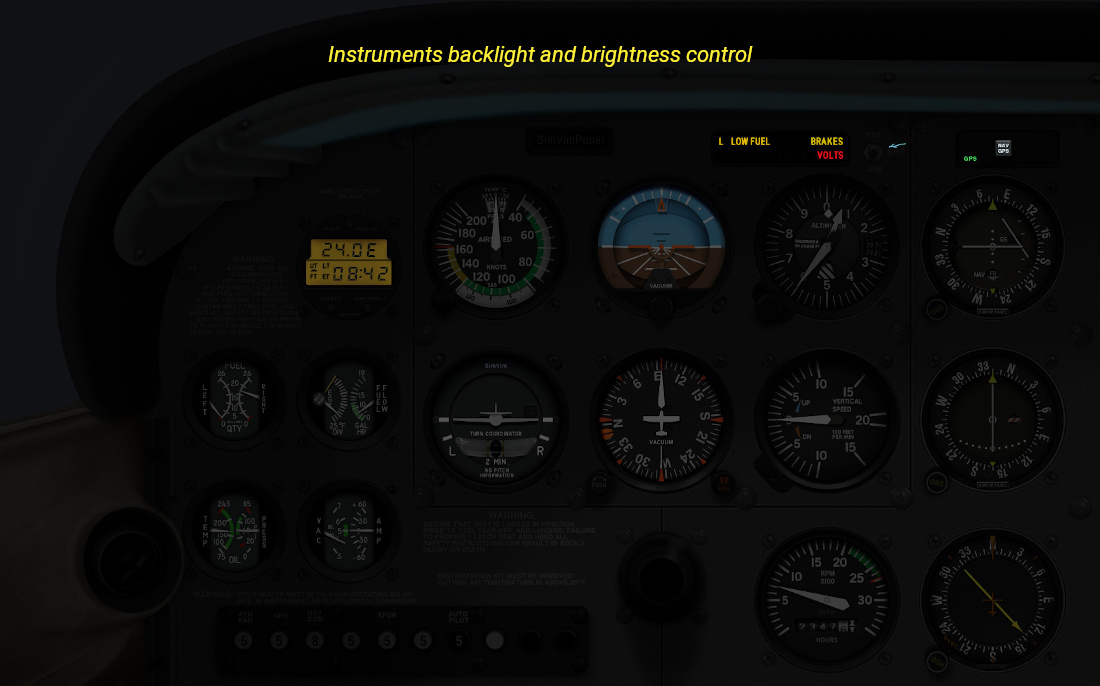
The full panel version includes realistic panel and instrument bezels textures in real sizes, with all control elements, including switches, knobs, and brightness zone overlays. All you need is a single monitor of suitable size and resolution connected to a Raspberry Pi, mini-PC or any old computer/laptop, without any covering.
All on-screen knobs, buttons and switches can be controlled with a mouse, but at the same time you can assign all needed SimVimX parameters to real switches, encoders and make a simple panel placed below or beside of the monitor or elsewhere.
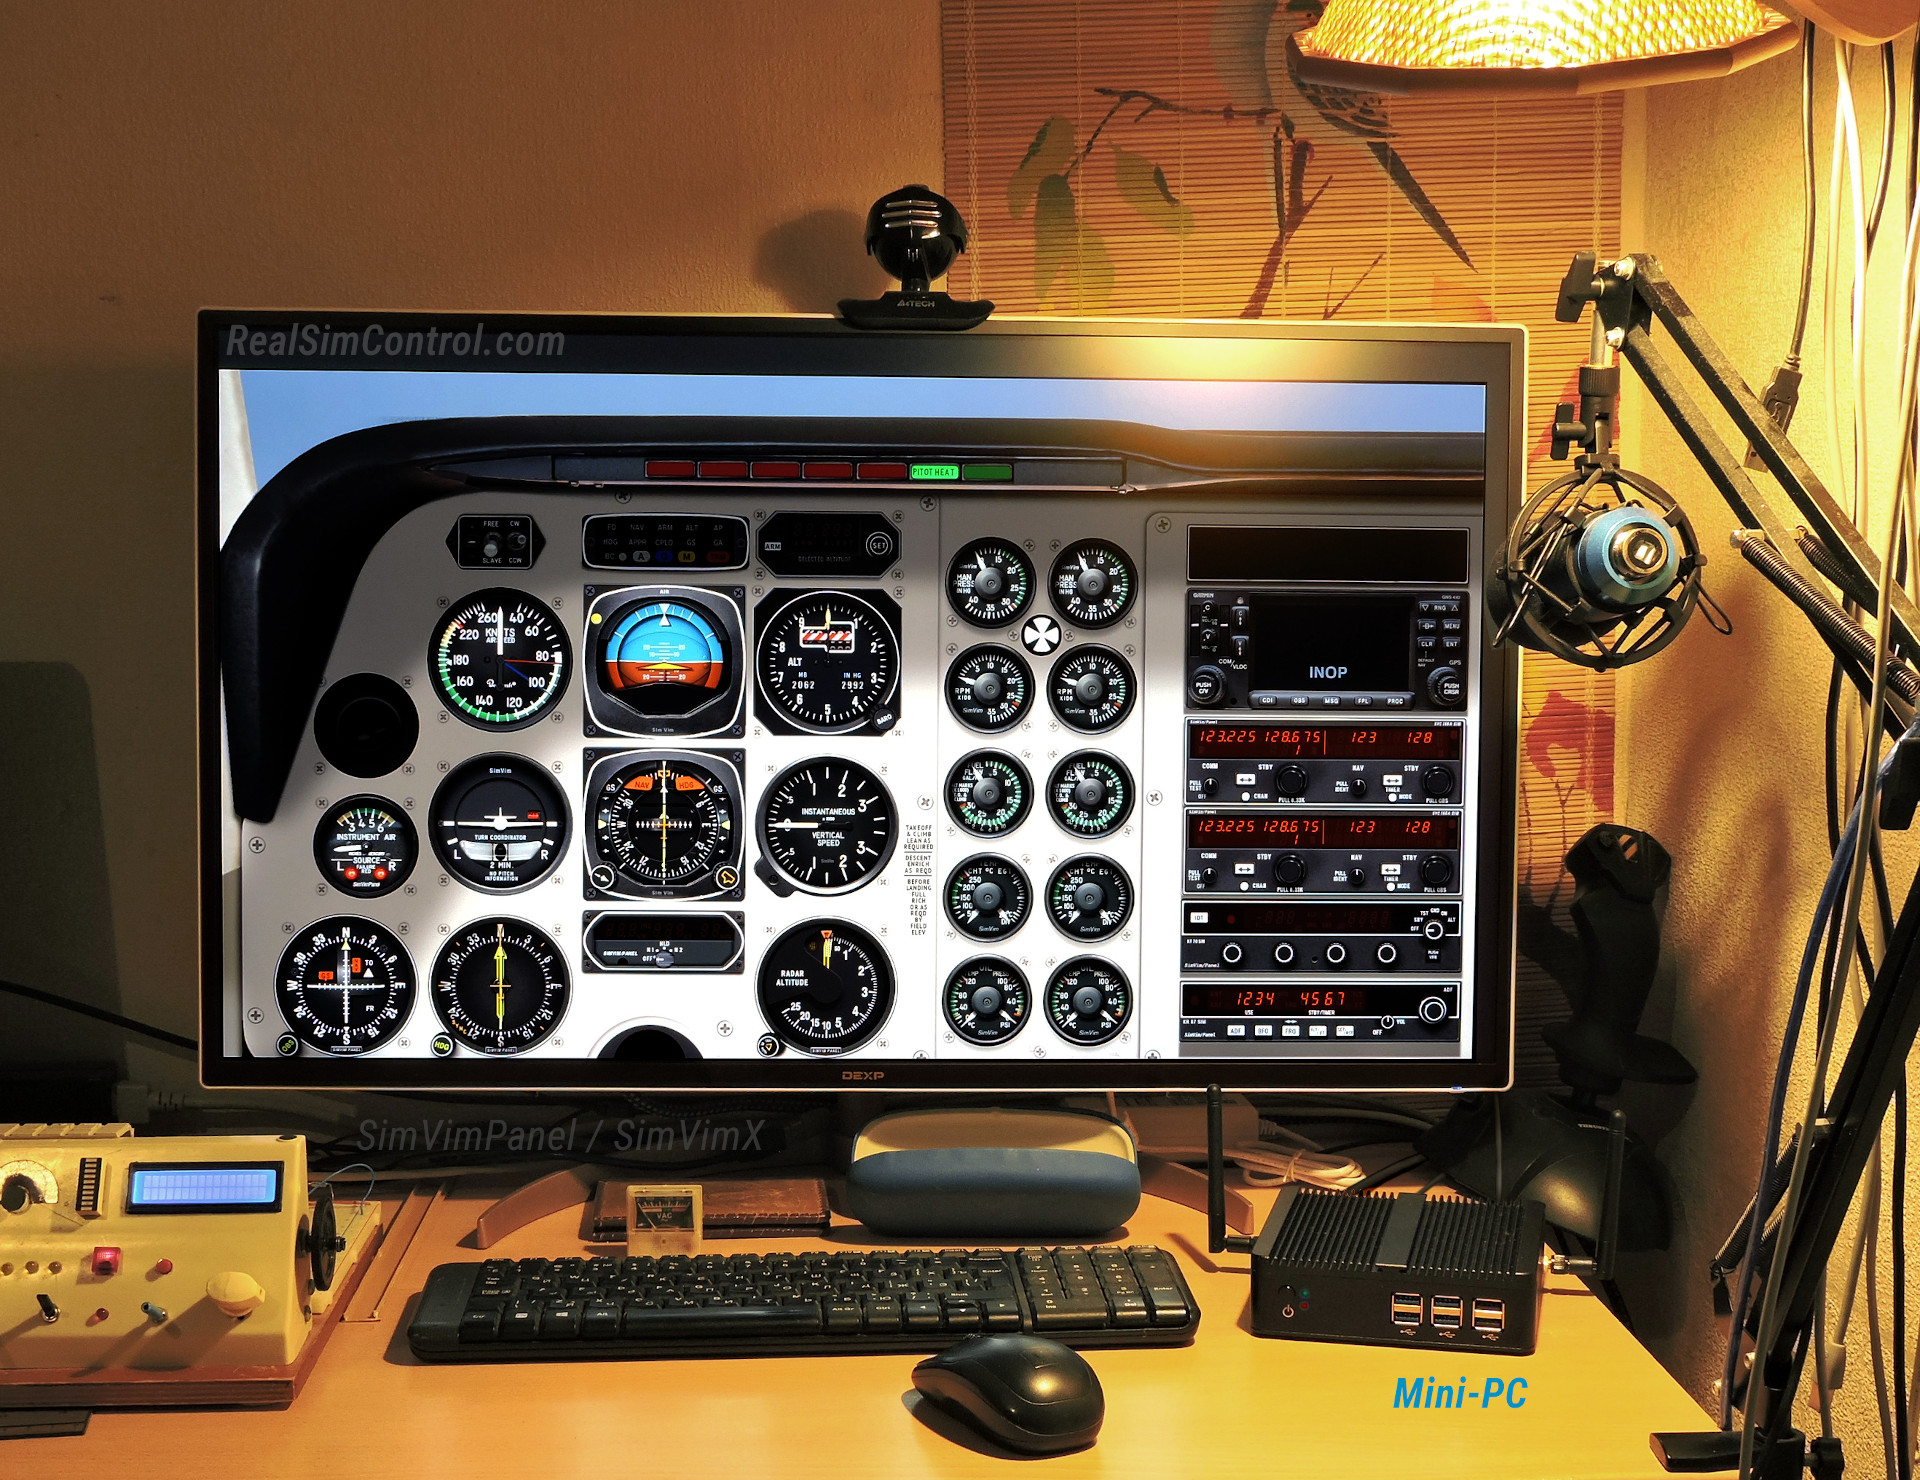
Here is an example of how the particular panel is fitted on the 31.5" monitor (2560x1440 is used here for Baron-58 and Piper PA44):
System requirements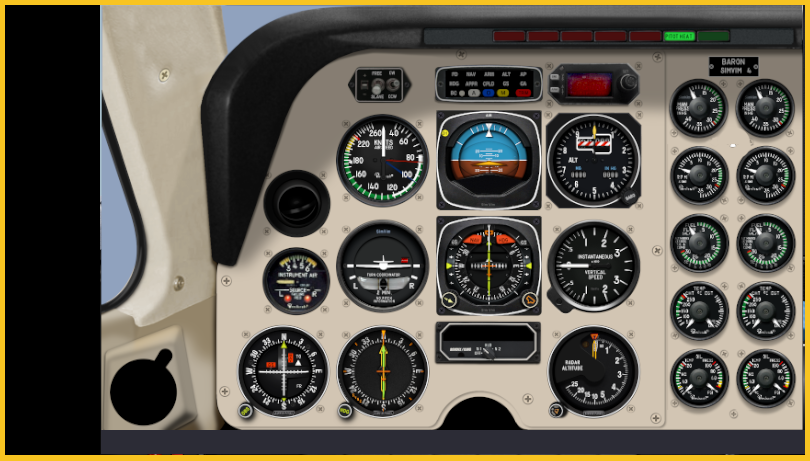
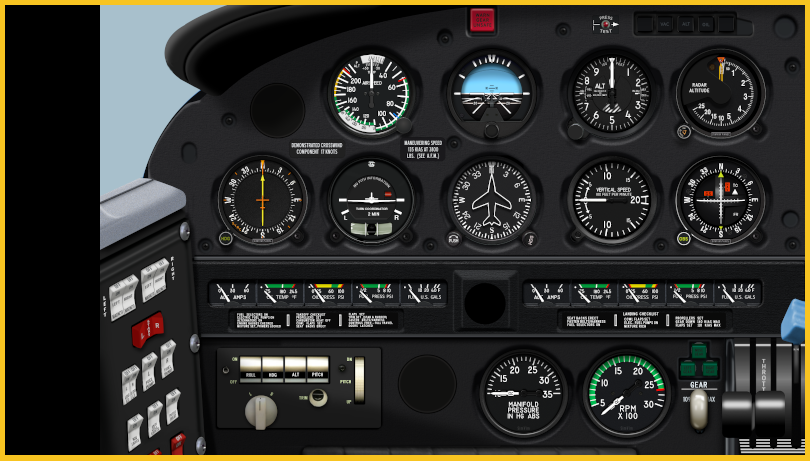
A full panel can be displayed in scaled down ratio to fit any LCD screen size by pressing the "S" key to automatically scale the panel to screen size (either screen width or height). Later, we will also include an option to assign a zoom parameter to buttons or an encoder in SimVimX. This feature allows you to use the full panel module on any LCD screen (large monitor or notebook display). If you scale the panel down by 10-20% it will still be looking close to the real size with well readable hi-resolution instruments.
The program doesn't require a powerful system - any old PC with processor frequency of about 1000 Mhz and relevant graphics card can be used.
SimVimPanel can be run on basically any old computer with a supported OS, the main requirement is that the graphics card supports at least OpenGL 2.0. For example, it can run on very old Celeron 1000-Mhz PC with an old Nvidia 5500 card (the B58 panel was tested on this system).

A good way is to use an old laptop. Here is an example of the "basic six" panel running very smoothly on Asus EEE PC 900 Mhz netbook (the video below is taken from laptop screen with camera). Almost every old laptop has a VGA output, allowing the connection of a larger display, making for a rather cheap (and quiet) system. You can also connect it with wi-fi instead of RJ45 cable.
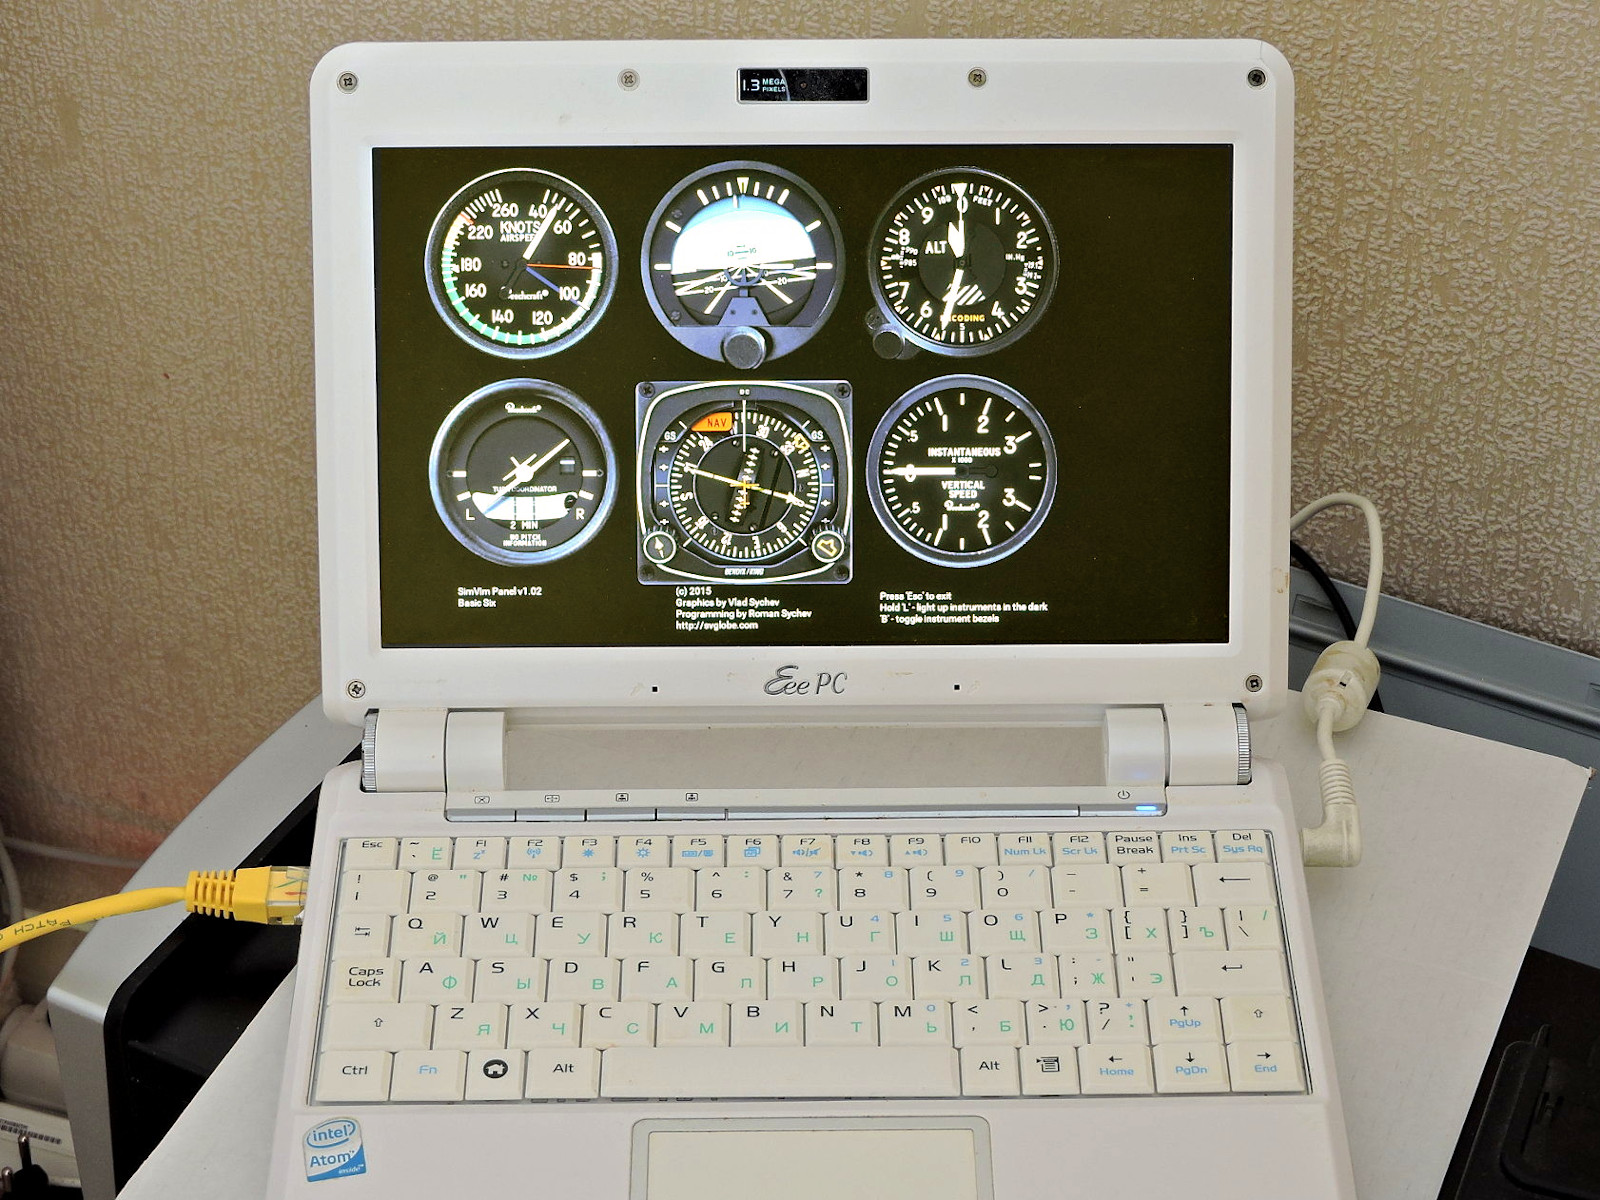
So, you can take an old computer from second-hand source or PC that may be gathering dust in your garage many years and it will perfectly run the SimVimPanel programof if it includes a suitable graphics card with driver installed and this will be cheaper than using a new mini-PCs.
But nowadays, you can see a wide range of mini PCs (minicomputers) on market that have most of the capabilities of a large computers but are tiny in physical size, low-power and inexpensive.
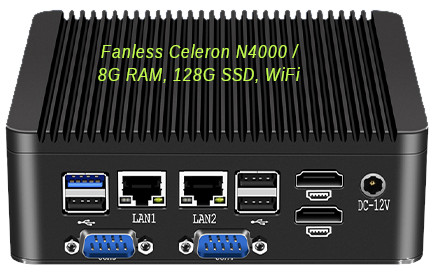

Enter the keyword "Mini PC" in the search field of AliExpress, Amazon or any other online marketplace and you can find the model you like. Most of them will have more than one video output to connect 2+ monitors and power more than enough to run very complex SimVimPanel. Below the B58 panel running on such mini-PC:
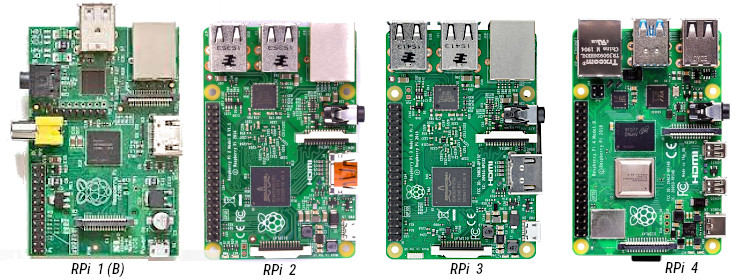
And finally, you can run SimVimPanel on Raspberry Pi mini computer. A Raspberry Pi 3 has enough performance to run any large panel module, and even the first Raspberry Pi model can be used for more simple paneSystem requirementsl, annunciator screens or radio modules. The B58 panel below is running on RP-4 and two monitors:
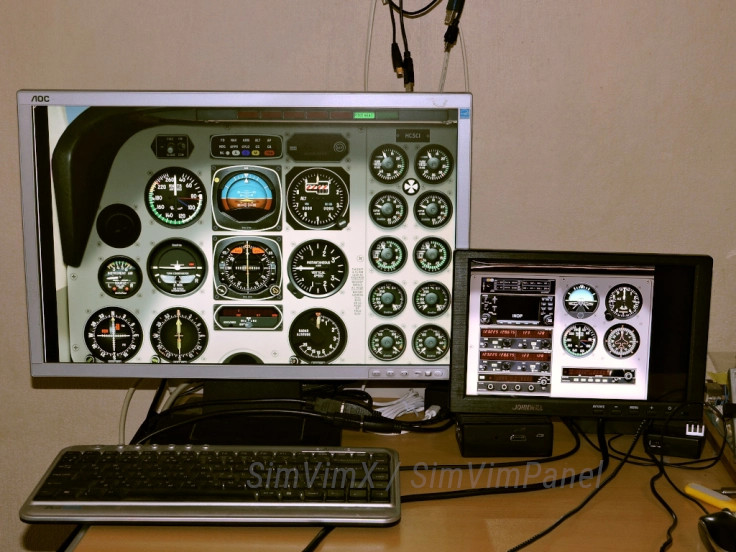
Read more about using SimVimX Panel on Raspberry Pi here, including how to set up non-standard screen resolutions for it.
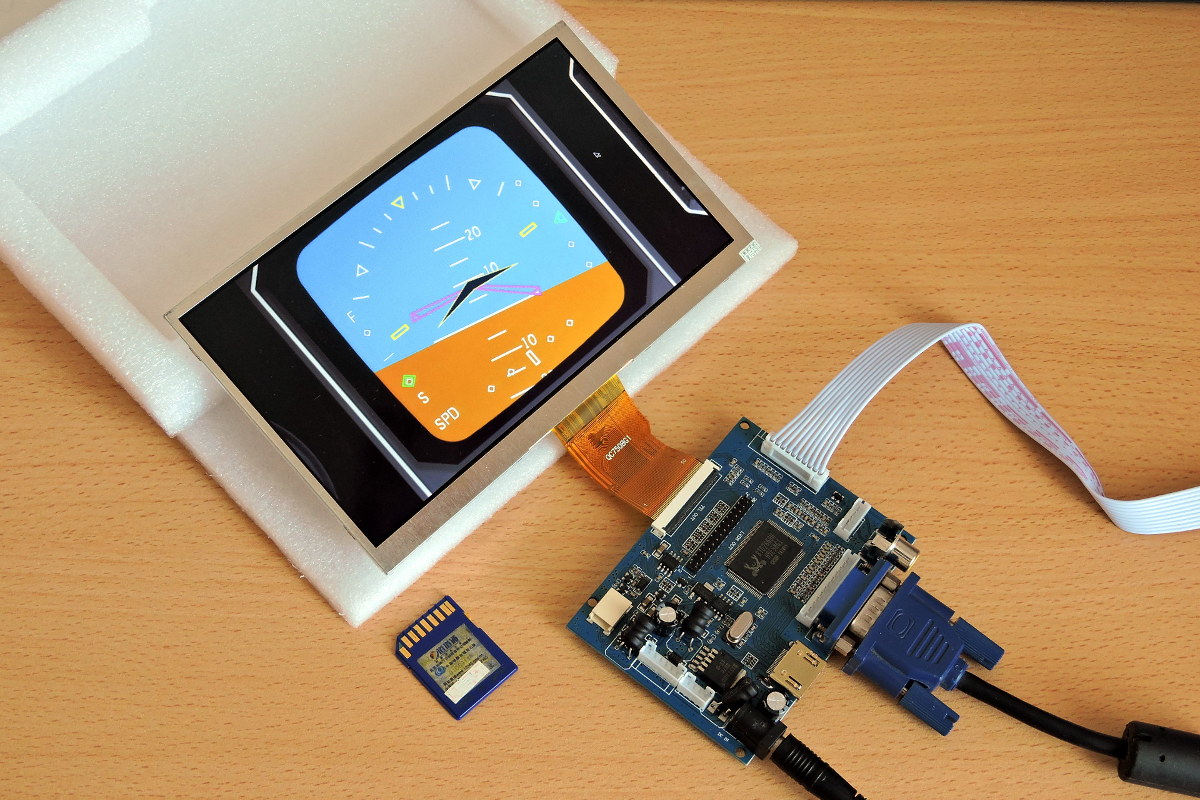
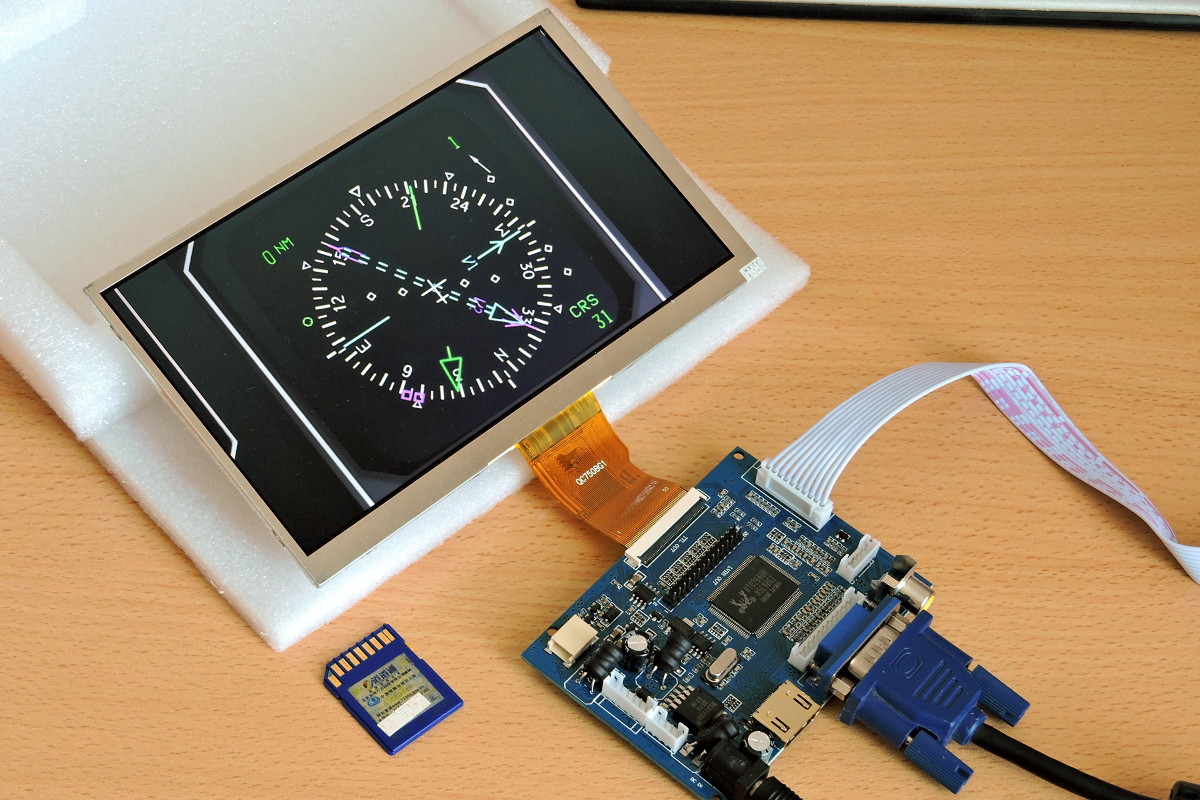
Here is a high-resolution (168 dpi) LCD display bought in September 2017 for $30 on AliExpress.
It's a thin (2.5mm) display with LED backlight and native resolution of 1024x600 in comparison to the usual 800x480 for LCDs of this size for similarly low price. The controller board includes VGA, HDMI and AV inputs, FPC and LVDC connectors for LCD panels, and it can be powered either from USB connector (5v DC) or from another external power supply.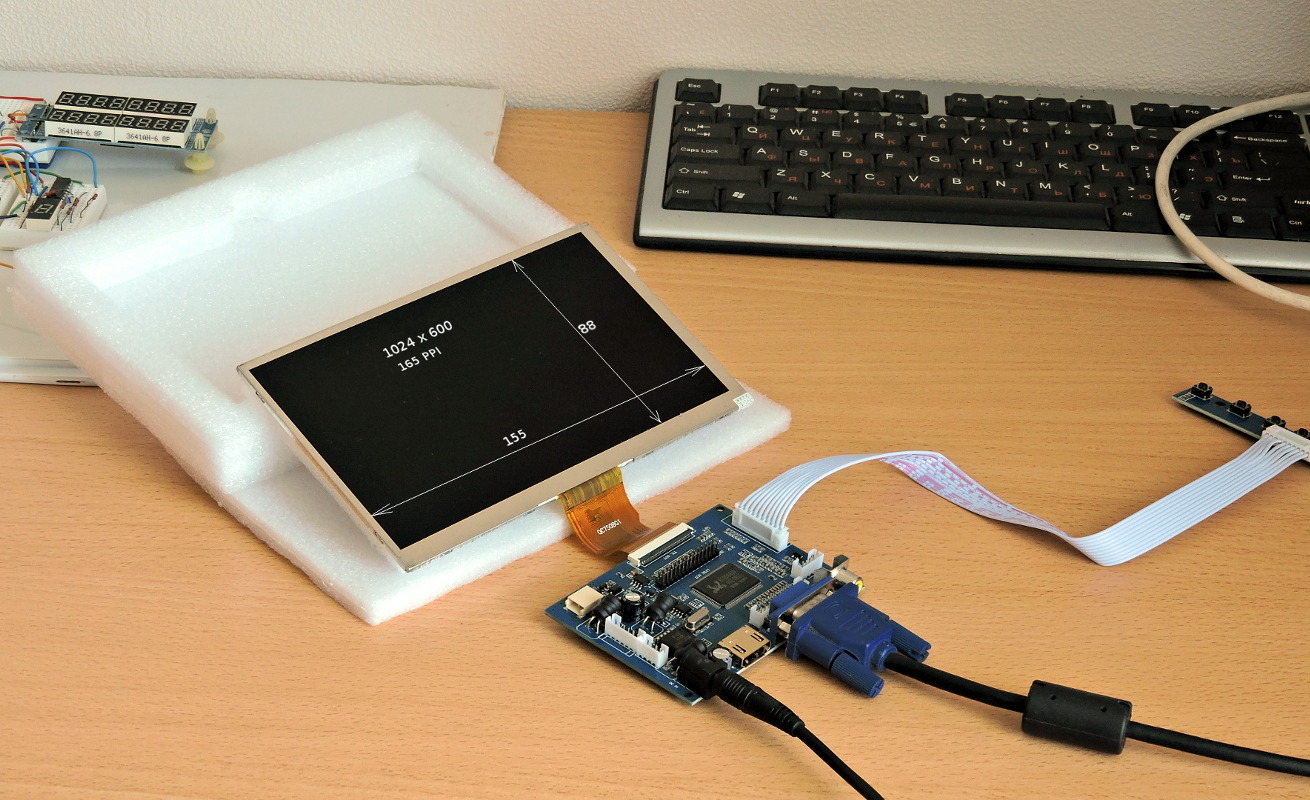
If you want to use a full-panel module (pilot+copilot sides), you can use a computer with 2 displays connected to it, configured as a single wide desktop.
Our panels currently don't have a GPS module implemented - if you want to use an external GPS module, read more here: